
A great cover letter highlights the most relevant and compelling aspects of your professional achievements, industry expertise, and qualifications. It also needs to convey why you’re drawn to a particular job or hiring organization. See below to learn about this writing approach and how you can write a cover letter that gets you more interviews for your next career opportunity.
What’s a Cover Letter?
A cover letter is a short letter that you send when applying for a job. While a resume shows you’re qualified for a job, it doesn’t allow you to speak to employers directly like a cover letter does. In today’s job search, hiring managers don’t just need to know you’re a great employee – they must see that you’re a great employee for their organization.
That’s why writing a cover letter is useful: It bridges the communication gap between your resume and an interview. In your cover letter’s first paragraph, you can tell a manager specifically why you’re attracted to their job opening or organization. You can also reveal more about your soft skills or communication style and provide context for issues such as employment gaps. Details like these may be crucial to starting a good conversation with a manager or recruiter.
Brainstorm key points
Before starting work on a personalized cover letter, you’ll need:
- A working draft of your resume
- A job posting or description you plan on pursuing
Once you have those two items, take 10 minutes to brainstorm and jot down on a blank document or sheet of paper why this job interests you. What does the role or organization share with your background or goals? For instance, maybe it’s an outside sales role in an industry you’re eager to return to. Or maybe the company’s brand or business model appeals to you somehow.

Tip!
Tip!
Research the employer. If a job posting gives few details on the hiring company, visit their website for more info. In addition to the home page, look at their “About Us” or “Careers” pages. Also, visit any linked social media pages to see how they present themselves. Are they formal and sophisticated, or down-to-earth and approachable? Figuring out the company’s voice makes it easier to strike the right tone in your cover letter.
When you’re done brainstorming, review your notes: Do any stand out as important or persuasive? Take another 10 minutes to brainstorm and elaborate on them. Repeat this process until you have at least two or three concise sentences that speak to the job opening at hand.
Example
I’m interested in applying for the marketing manager position at Cadence Inc. Your brand’s product set and focus on corporate clients are ideal fits for my skills and experience. As a results-driven professional with deep knowledge of local markets, I can help your team significantly increase its revenue in 2026.
In your cover letter’s first paragraph, show hiring managers you read their job posting and are responding to it directly. It helps distinguish your cover letter from your resume. This also gets you past applicant tracking systems and sets the stage for a good discussion about how you fit the role and the office’s work culture.
This approach takes longer than sending the same generic letter for each application. But it can shorten your overall job search by getting you more interviews for jobs that truly interest you.
How To Write a Cover Letter in Five Steps
To write a great cover letter, you need to structure one effectively. Each section should have a clear goal. From the introduction to your conclusion, your top priority should be focusing on impactful achievements that demonstrate the value you can bring to potential employers. The cover letter needs to tell your story and illustrate your career journey differently from the resume, exploring your nuances as an industry professional.
Your cover letter format should include the following sections:
- Heading and contact information
- Salutation
- Hook or introduction
- Body paragraphs
- Conclusion
Below, we’ll walk you through each step of the cover letter writing process:
1. Header and contact information
The header of your cover letter should list all essential contact information, including your name, phone number, email, address, and LinkedIn URL. This allows the hiring manager to easily reach out for more information or to schedule you for an interview. Be sure to also feature your job title as the first item in your header.
Contact Information Example
Savannah Bateman
Sales Representative | [email protected] | (678) 901-2345 | Columbus, OH 01234 | LinkedIn
February 11, 2024
Emma Neal
Senior Hiring Manager
Staples
(543) 210-9876
[email protected]
2. Salutation
You must appropriately greet the hiring manager with your cover letter opening. We recommend addressing them by name — Mr. or Ms. [Last Name]. If you’re uncertain of the person’s gender, simply write their first and last name. If you can’t find their name, use a variation of “Dear Hiring Manager.” This shows you’ve researched the company before applying and you’re fully engaged in the job application process. It’s best to avoid salutations such as “Dear Sir/Madam” or “To Whom It May Concern,” as this language feels less direct and personal.
Salutation Examples
Dear Ms. Young,
Dear Mr. Jackson,
Dear Pat Martin,
Dear Sales Hiring Manager,
3. Introduction
Building a powerful introduction is the key to making a strong first impression on the hiring manager. This sets the tone for your cover letter and allows you to immediately send a clear message that you’re the ideal candidate for the position. Highlight your years of experience and convey your interest in the opportunity. But the hook of your cover letter’s first paragraph should come in the form of a stunning career achievement.
Leading with an accomplishment that you can quantify using a powerful number or metric is a great way to maximize the impact of your cover letter opening. Select an achievement relevant to the position you’re targeting, effectively showcasing your industry knowledge and expertise. Not only does this demonstrate your past success, but it also communicates how you can positively impact future employers.
Cover Letter Introduction Example #1
With over 10 years of experience within the energy industry, I’ve managed various multi-million-dollar initiatives to bring green energy solutions to the market for Clean Power Corp. My ability to create strategic partnerships with enterprise customers and C-level executives would create immense value for your company as the new senior vice president of energy.
Cover Letter Introduction Example #2
As you can see from my attached resume, I have an advanced background in human-centered design and visual storytelling. During my time with Ultimate Wedding Planner, I developed the user interface (UI) for the launch of a new mobile application for wedding planning services, which generated over 2 million downloads within one year. My experience in application development will allow me to thrive in the user experience (UX) designer position with your organization.
Cover Letter Introduction Example #3
In my first year as a registered nurse at Temple Hospital, I achieved patient satisfaction ratings of over 93%. As a nursing professional, I’m passionate and dedicated to providing superior care to my patients using evidence-based approaches to treatment. My clinical knowledge will allow me to achieve positive outcomes for patients at your esteemed hospital.
4. Body paragraphs
The body paragraphs serve as the core of your cover letter, allowing you to describe your professional experience in more detail. Start by mentioning specifics about the company’s reputation, mission statement, products, or culture. Describe why this sparks your interest in the opportunity and how you can support the organization’s goals.
Feature a mix of accomplishments that capture the most compelling aspects of your career. In addition to quantifying your achievements, be sure to provide examples of your leadership capabilities and interpersonal skills, as it’s important to show potential employers that you’re the right fit for the team’s culture. Consider adding a bulleted list of career highlights to break up the monotony of the text on the page and maximize the readability of your cover letter.
Cover Letter Body Paragraphs Example #1:
As an executive within the energy space, I identify with West Coast Solar’s mission statement of driving the expansion of renewable energy to combat climate change. My extensive background in providing green energy solutions would aid in this mission based on my career accomplishments:
- Led strategic initiatives to reduce carbon emissions in energy portfolios for enterprise clients valued at up to $300 million by delivering wind, solar, and nuclear energy solutions
- Structured energy transactions valued at up to $120 million and coordinated with the CEO and executive team to identify risk factors and negotiate purchases
- Reduced carbon footprint for enterprise customers by 5% to 15%
Cover Letter Body Paragraphs Example #2:
PeopleSoft’s reputation as a thought leader within the HR software space draws me to apply for the position. My experience as a UX designer for both Employee Software Inc. and LinkedIn has allowed me to cultivate a holistic, human-centered approach that matches the needs of your organization. I can continue to grow your reputation as an industry leader based on the following achievements from my career:
- Managed a team of over 25 UX designers for Employee Software Inc. and interfaced with stakeholders and C-level executives to recommend large-scale redesigns for the mobile UI
- Improved the UX for LinkedIn’s website in coordination with a team of web developers and UX designers, which improved user satisfaction by 15%
- Drove UI development and conducted wireframing for the launch of LinkedIn’s mobile app, which generated 3 million downloads over six months
Cover Letter Body Paragraphs Example #3:
Impossible Foods’ mission to provide ethically sourced, environmentally sustainable meat alternatives strongly aligns with my core values as a brand ambassador within the plant-based food space. I can aid your brand in continuing to improve its market share based on the following achievements from my career:
- Managed overarching marketing strategy for vegan burgers and hotdog product lines, generating $2.5 million in annual revenue, which included conducting market research on target demographics
- Improved annual sales for plant-based burger products by $450,000 by improving packaging and visual merchandising to emphasize environmental sustainability
- Coordinated with media outlets to manage public relations and press releases for new product releases and media coverage of production methods
5. Conclusion
The closing paragraph of your cover letter is your last opportunity to impress the hiring manager. To finish on a strong note, include a call to action (CTA) that invites the hiring manager to schedule an interview or reach out for more information. Reinforce how your industry expertise and career experience can create value for your target company and help their team continue to excel. In the last sentence of your cover letter, thank the reader for their time and consideration, as being courteous also conveys your professionalism.
Cover Letter Closing Paragraph Example #1:
I look forward to telling you more about how my background in renewable energy can help drive the adoption of green energy solutions across your customer base. You can contact me for an interview at your convenience. Thank you for your consideration.
Sincerely,
Joanne Li
Cover Letter Closing Paragraph Example #2:
I hope to speak with you further regarding how my knowledge of eco-friendly design features aligns with your organization’s mission. Feel free to contact me via phone or email at your convenience. I appreciate your time and consideration.
Sincerely,
John Bergsen
Cover Letter Closing Paragraph Example #3:
I would like to schedule an interview to provide more insights into how my HR management experience can help Cigna Health improve recruiting efforts and enhance employee engagement. Feel free to contact me via phone or email at your convenience. I appreciate your time and consideration.
Sincerely,
Anthony Gentile
Additional Cover Letter Writing Tips
Align your cover letter with the job description
Tailoring your content according to the needs of individual employers is essential for any successful job application. As you review the posting, reflect on how your industry knowledge and background match the company’s needs.
Identify exactly what potential employers are looking for in a candidate and feature specific skill sets that match the job description. Emphasize how your core values are aligned with the organization’s mission statement. Although this additional customization can be time-consuming, your chances of landing the interview are sure to increase drastically.
Quantify your professional achievements
Writing a cover letter that stands out in today’s competitive job market is no easy task. With an overabundance of qualified applicants, you need to push your cover letter toward the top of the pile. Quantifying your achievements is one of the best ways to accomplish this.
Incorporating hard numbers, metrics, and monetary figures fulfills several objectives. First, it establishes a sense of scope for your achievements and helps to paint a much clearer image of your professional experience. Another added benefit is that numbers naturally draw the reader’s eye. In a cover letter with detailed paragraphs, this can help entice the hiring manager to engage with your content more thoroughly.
Feature your leadership and communication skills
Although your industry expertise should always be at the forefront of your cover letter, it’s important not to neglect your interpersonal skills. Companies want to see you can collaborate effectively in diverse, team-based environments. Rather than simply saying you’re a strong leader or communicator, convey these skill sets by featuring tangible examples from your work history.
For instance, if you were managing a team, focus on how you helped develop your team members and put them in a position to succeed. Showcase how you helped to cultivate inclusive and collaborative work cultures to drive employee engagement and retention. These insights are far more compelling than simply mentioning mundane details related to task delegation.
Proofread your cover letter repeatedly
With such a limited window to make a lasting impression on the hiring manager, the last thing you need holding you back is poor grammar or spelling errors. These mistakes are highly distracting for the reader, effectively drawing their attention away from your qualifications. A hastily written cover letter also sends a message to hiring managers that you lack attention to detail, which is key for almost any profession.
Bring in resume highlights
A great resume can back up a good cover letter. Use your cover letter to bring attention to the greatest points on your resume. Using a resume builder can help you create a resume that complements your application and cover letter.
Cover Letter Examples
Text-Only Cover Letter Examples
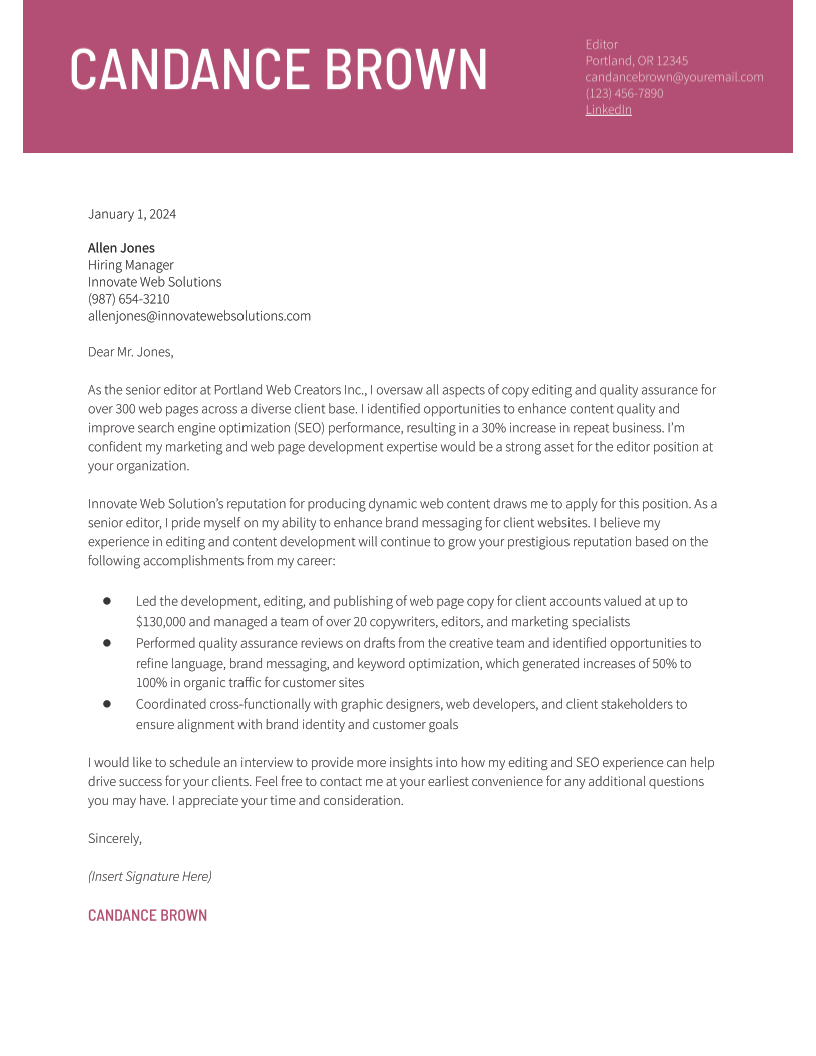
Candace Brown
Editor | [email protected] | (123) 456-7890 | Portland, OR 12345 | LinkedIn
January 1, 2024
Allen Jones
Hiring Manager
Innovate Web Solutions
(987) 654-3210
[email protected]
Dear Mr. Jones,
As the senior editor at Portland Web Creators Inc., I oversaw all aspects of copy editing and quality assurance for over 300 web pages across a diverse client base. I identified opportunities to enhance content quality and improve search engine optimization (SEO) performance, resulting in a 30% increase in repeat business. I’m confident my marketing and web page development expertise would be a strong asset for the editor position at your organization.
Innovate Web Solution’s reputation for producing dynamic web content draws me to apply for this position. As a senior editor, I pride myself on my ability to enhance brand messaging for client websites. I believe my experience in editing and content development will continue to grow your prestigious reputation based on the following accomplishments from my career:
- Led the development, editing, and publishing of web page copy for client accounts valued at up to $130,000 and managed a team of over 20 copywriters, editors, and marketing specialists
- Performed quality assurance reviews on drafts from the creative team and identified opportunities to refine language, brand messaging, and keyword optimization, which generated increases of 50% to 100% in organic traffic for customer sites
- Coordinated cross-functionally with graphic designers, web developers, and client stakeholders to ensure alignment with brand identity and customer goals
I would like to schedule an interview to provide more insights into how my editing and SEO experience can help drive success for your clients. Feel free to contact me at your earliest convenience for any additional questions you may have. I appreciate your time and consideration.
Sincerely,
Candace Brown
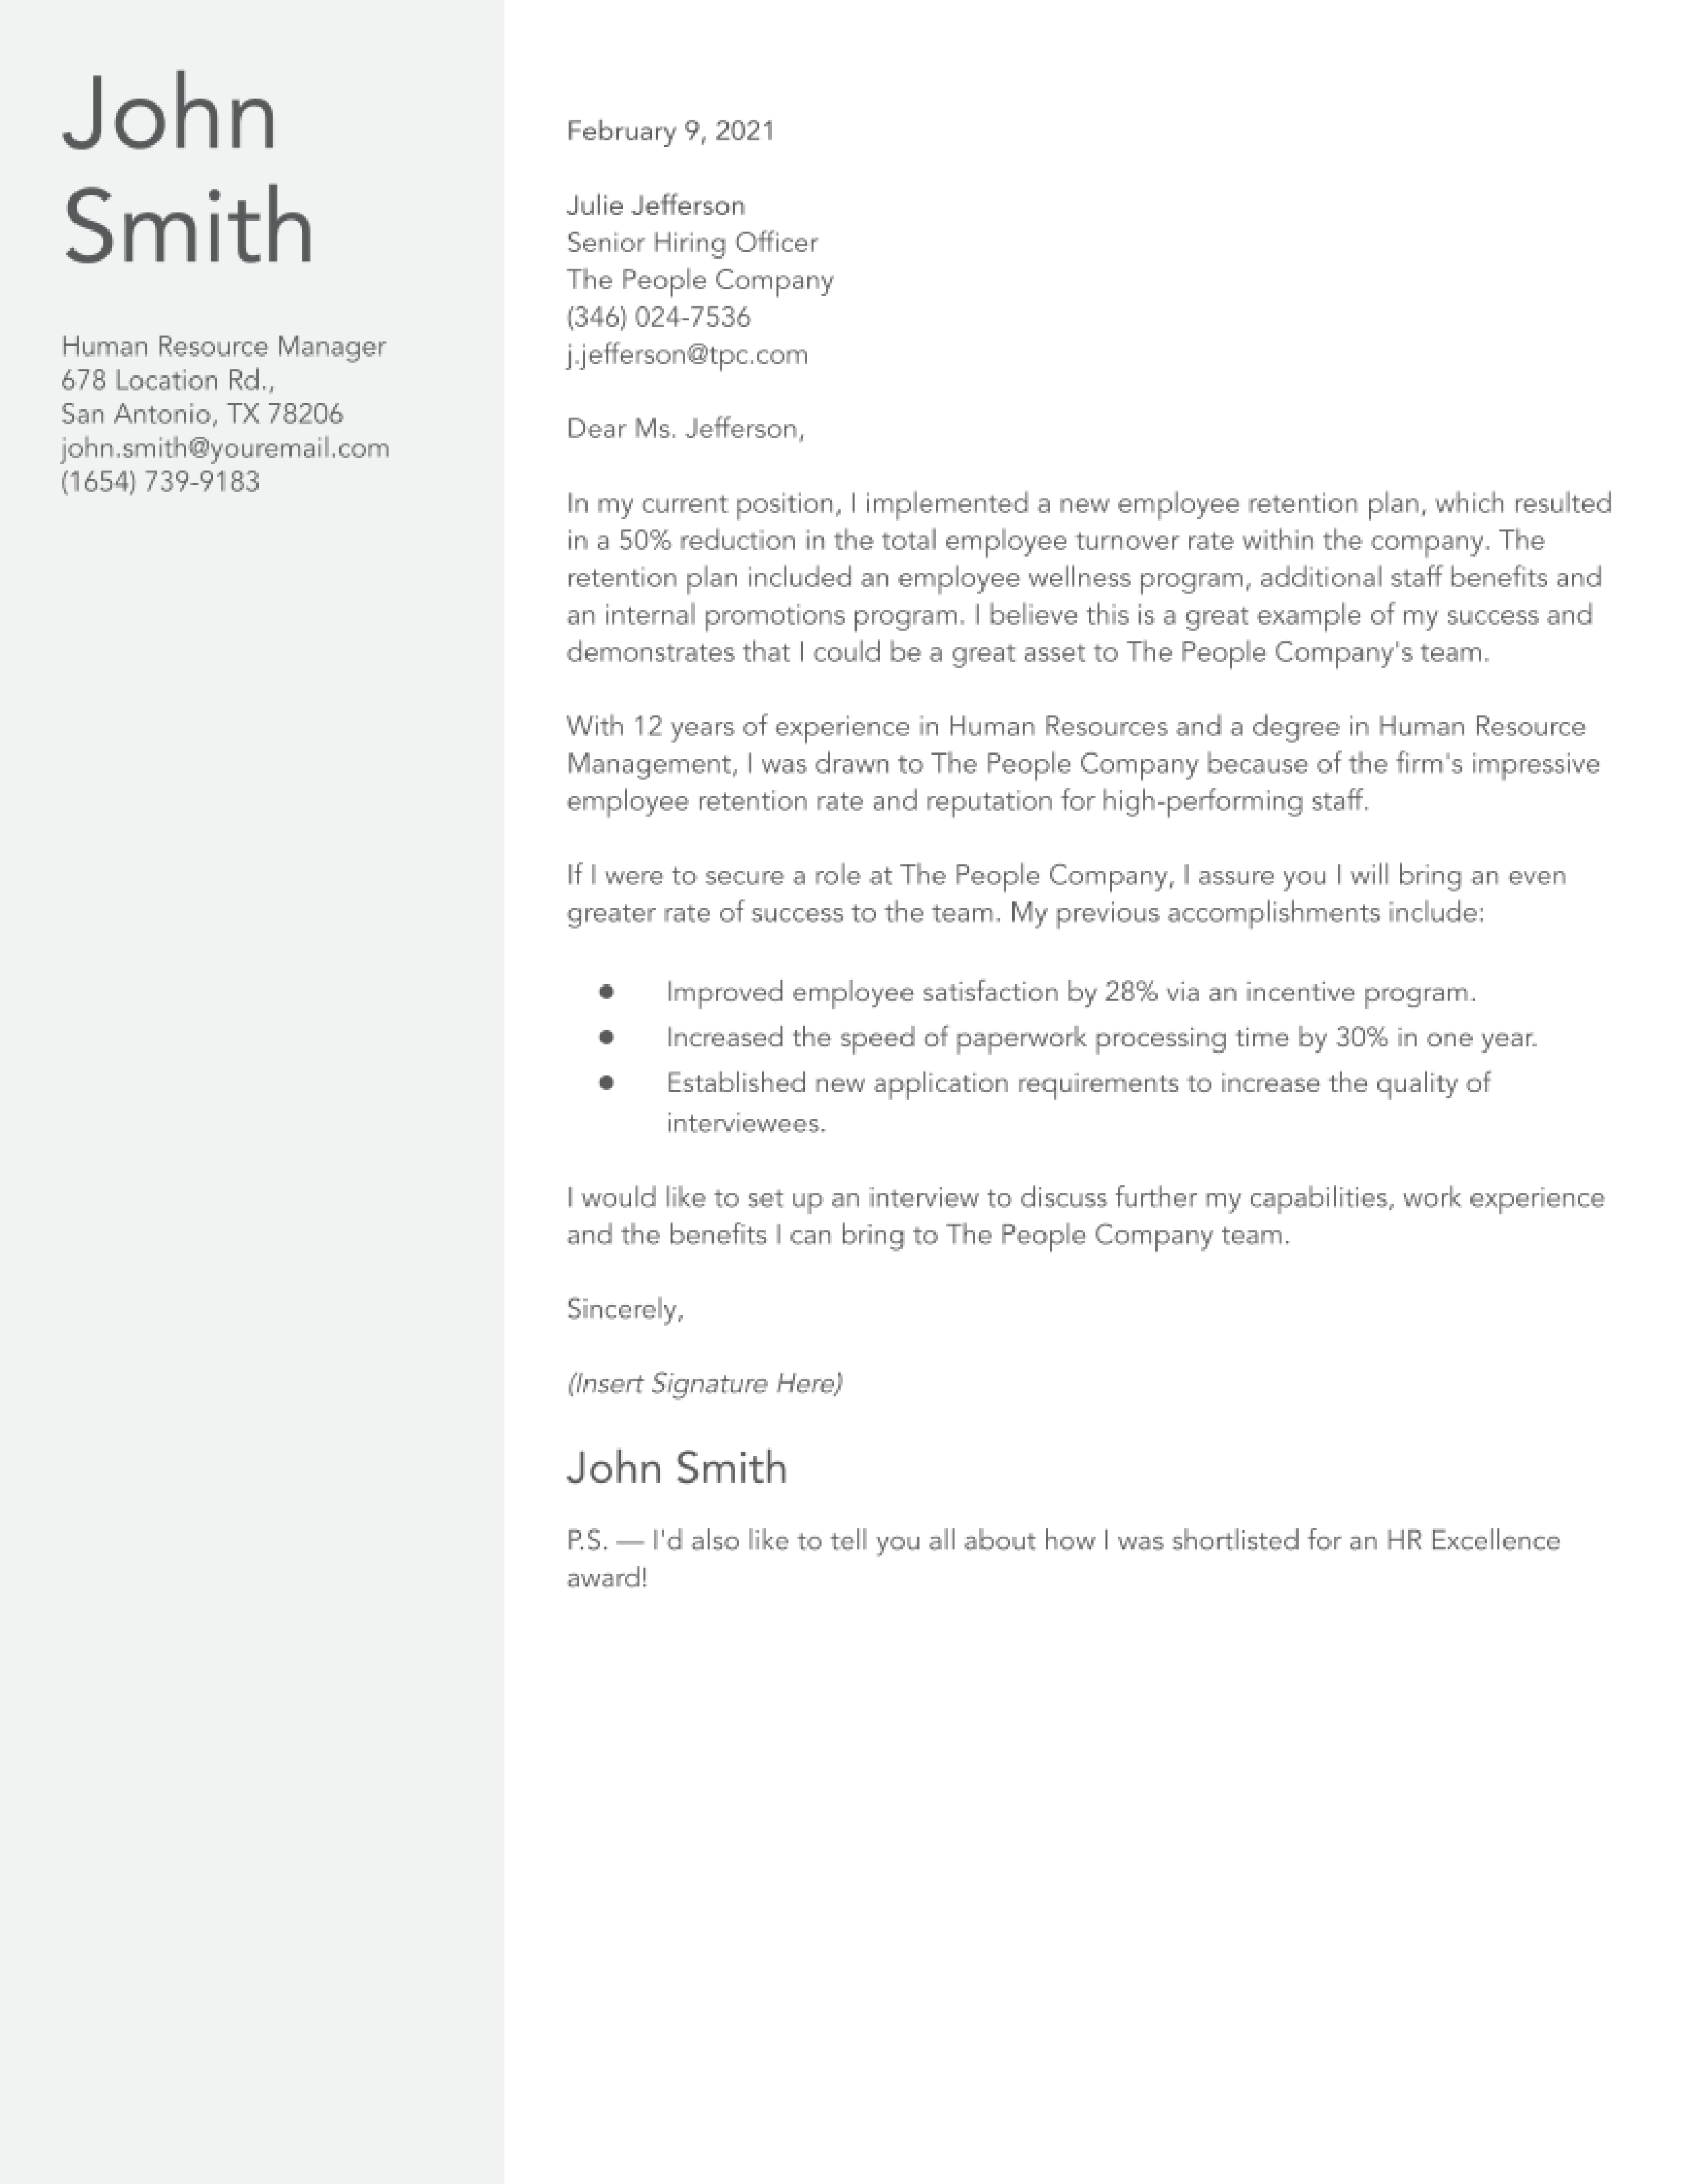
John Smith
Human Resource Manager | [email protected] | (1654) 739-9183 | 678 Location Rd., San Antonio, TX 78206
February 9, 2024
Julie Jefferson
Senior Hiring Officer
The People Company
(346) 024-7536
[email protected]
Dear Ms. Jefferson,
In my current position, I implemented a new employee retention plan, which resulted in a 50% reduction in the total employee turnover rate within the company. The retention plan included an employee wellness program, additional staff benefits and an internal promotions program. I believe this is a great example of my success and demonstrates that I could be a great asset to The People Company’s team.
With 12 years of experience in Human Resources and a degree in Human Resource Management, I was drawn to The People Company because of the firm’s impressive employee retention rate and reputation for high-performing staff.
If I were to secure a role at The People Company, I assure you I will bring an even greater rate of success to the team. My previous accomplishments include:
- Improved employee satisfaction by 28% via an incentive program.
- Increased the speed of paperwork processing time by 30% in one year.
- Established new application requirements to increase the quality of interviewees.
I would like to set up an interview to discuss further my capabilities, work experience and the benefits I can bring to The People Company team.
Sincerely,
John Smith
P.S. — I’d also like to tell you all about how I was shortlisted for an HR Excellence award!
Selena Ramirez
Customer Success Manager | [email protected] | (123) 456-7890 | Miami, FL 12345 | LinkedIn
January 1, 2024
Rachel Johnson
Hiring Manager
Advanced Marketing Solutions
(987) 654-3210
[email protected]
Dear Ms. Johnson,
At Brand Storytelling Inc., I led the development of the customer success departments and oversaw a team of more than 60 personnel to deliver brand consulting and digital marketing services. By establishing new support models, my team improved client satisfaction scores from 85% to 94% for top accounts. I can achieve similar success for your organization in the customer success manager position.
Advanced Marketing Solutions has a reputation for excellence in its dedication to customer care, which strongly aligns with my professional background. I’m confident I can help your organization continue to enhance its delivery of marketing consulting services based on my career achievements:
- Built, developed, and managed the customer success department and defined strategies to enhance the client experience for accounts valued at up to $15 million
- Coordinated with the director of marketing to refine digital marketing services based on brand objectives and market expansion opportunities, resulting in a 94% customer satisfaction rating
- Led the customer onboarding process, identified opportunities to enhance client engagement, and served as the point of contact for senior management and stakeholders
I would like to schedule an interview to provide more insights into how my expertise in organizational development can help you improve your customer success department. You may contact me via phone or email at your earliest convenience. I appreciate your time and consideration.
Sincerely,
Selena Ramirez
Cover Letter Frequently Asked Questions
Do I really need a cover letter for my job search? -
Yes, in most cases. According to statistics gathered by LinkedIn, over 60% of employers require cover letters from applicants. In addition, over 83% of hiring managers in the study noted that they frequently read cover letters and considered them during the application process. This is also supported by Forbes, who cites a study published by Business and Professional Communication Quarterly. These findings indicated that 56% of employers valued the cover letter as a part of candidate assessment.
What’s the best way to start a cover letter? -
With a clear example of your success in the role you’re after. The concept of “show, don’t tell” absolutely applies to your cover letter’s opening. For instance, don’t just tell the hiring manager you’re a “proactive program manager.” Show you’re proactive by citing a time you exceeded expectations or found a new way to enhance project oversight.
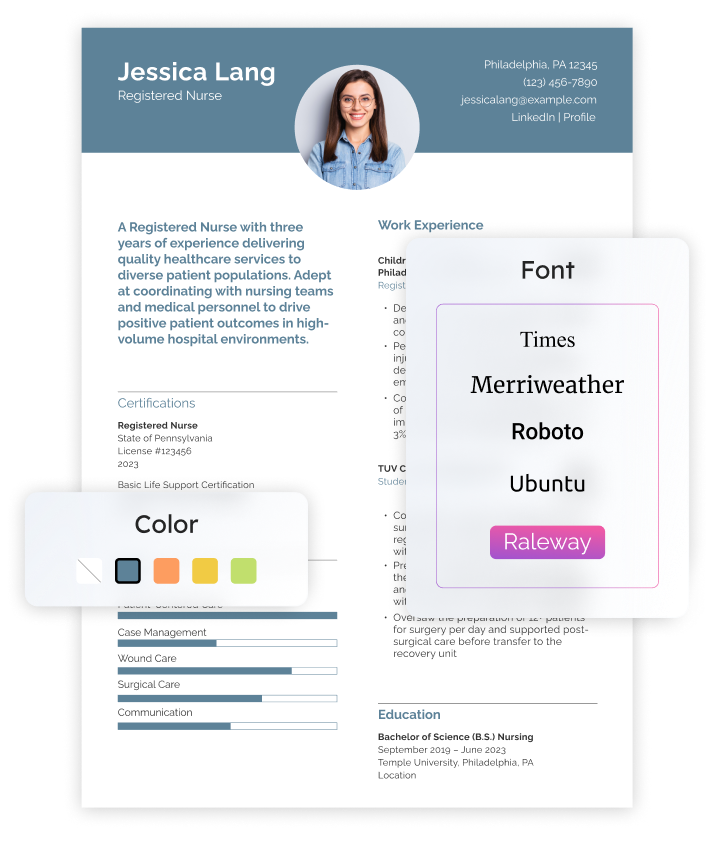
What should my cover letter’s design look like?-
Your resume’s. Carry over all of that document’s basic format settings, like font style, line spacing, and page margins. Also, copy in the exact same contact header.
How long should my cover letter be?-
No more than one page, or around 250 words. Resist the urge to tell your whole career story, even if you have extensive background in your target role. Give just enough detail to pique hiring managers’ interest so they look closely at your resume.
Craft your perfect resume in minutes
Get 2x more interviews with Resume Builder. Access Pro Plan features for a limited time!